TOERE-SAMPLES
Keyboard Keys suggested
E3  => tok.wav
F3  => tok_2.wav
F#3 => tuk.wav
G3  => tok_3.wav
C3  => pahu.wav
C#3 => tik_2.wav
D3  => tik.wav
D#3 => tik_3.wav
B2  => faakete_1.wav
G2  => faakete_2.wav
Important note : Commercial use of theses toere samples is prohibited !
TIP #1 - Ableton Live 10 DrumRack

Drum
If you have the same DAW as me : Ableton Live.
There is my drumrack Ableton Live’s Project of Toere samples that you can download by clicking on the zip icon.
TIP #2 - Routing tracks
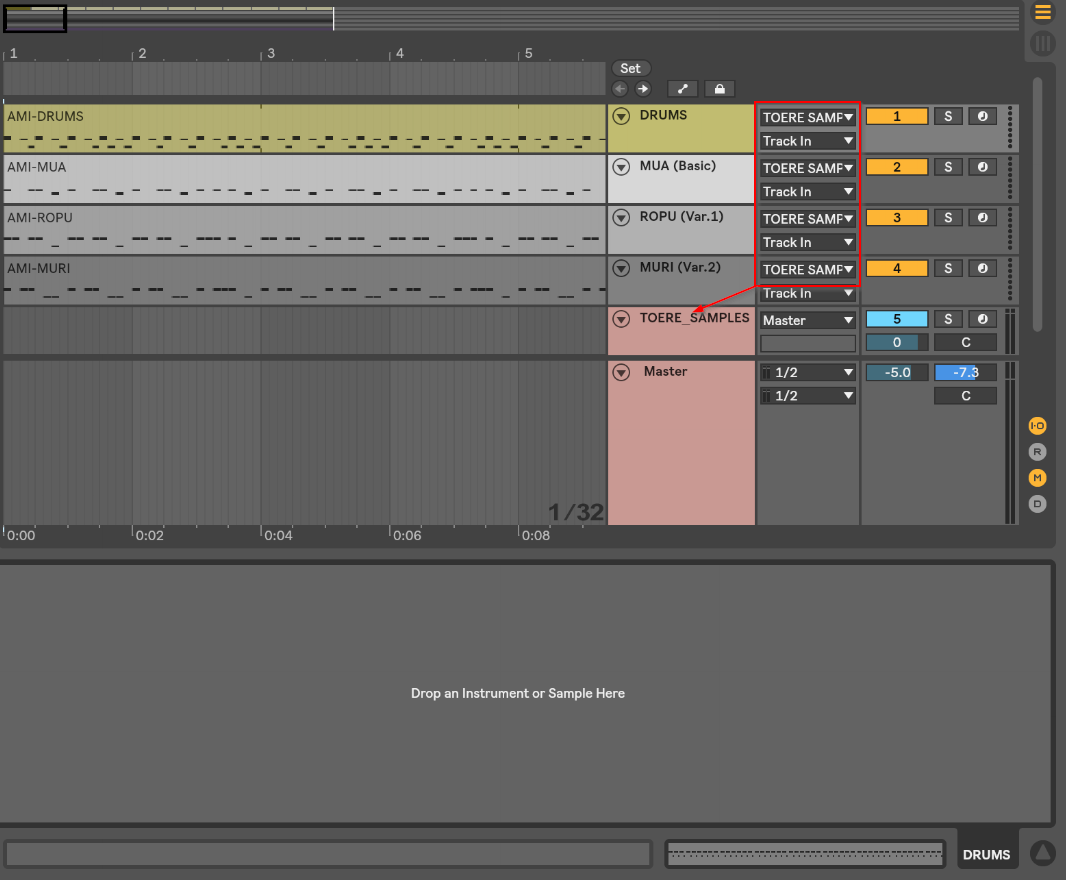 To keep a clean working area on your DAW, I suggest that you use routing.
In my case, I have created midi tracks that doesn’t have vsti on them
but only send the midi information to my main toere-sample track.
Look/Click on the screenshot to enlarge.
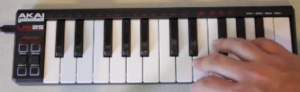
TIP #3 - Groove by hand
Grooving (or put velocity) on your toere midi is a must if you want to give more natural/humanize effect to your playing.
For that you only need a small (cheap) keyboard like this one.
Just try to imagine how a real player would strike harder while playing a pehe. It is up to you.
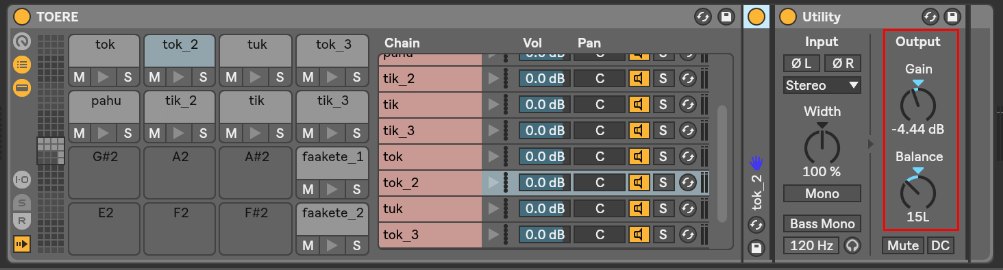
TIP #4 - Stereo mix
Stereo mixing is very important when working with multiple instruments.
I have made some panning left and right for some toere-samples to simulate a wide stereo mix.
I have also made some gain adustment to have a less messy mix.
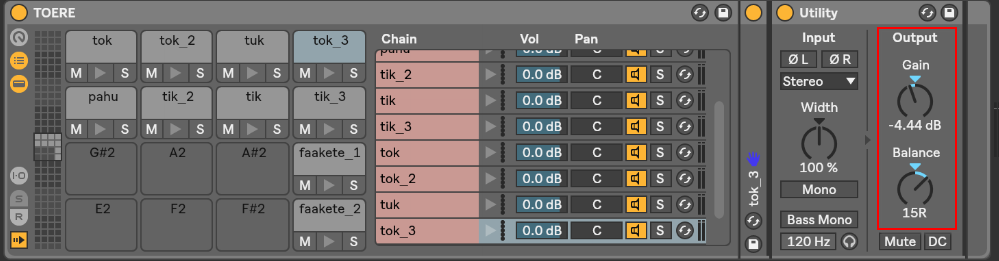
Here are the adjustment that I’ve done on the toere samples in my mix :
tok_2 => gain : -4.44 dB ; panning : 15Left
tok_3 => gain : -4.44 dB ; panning : 15Right
tik_2 => gain : -4.44 dB ; panning : 15Left
tik_3 => gain : -4.44 dB ; panning : 15Right
faakete_1 => panning : 15Left
faakete_2 => panning : 15Right
Note : pahu should not be panned (obviously :)
One last tip for the mix, you can use VST(effects) at the end of the sample chain to ease the A/B and Gain
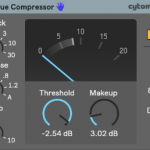
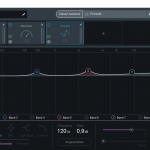
TIP #5 - Master chain
Last but not least, the mastering.
Unfortunatly, by default, the output of the samples when played together should peak in the red of the master track metering.
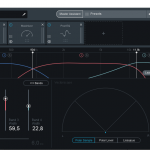
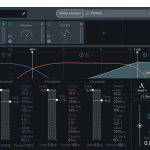
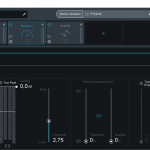
No choice, you have to tame the output by providing some compression, limiter, EQ dynamics and eventualy stereo imager, Maximizer and Post EQ (up to you).
Thus you should also make some room on the output volume of the master track by dropping the fader to -6dB, specially if you want to bounce in an mp3 format at the end that will crush your high and low inaudible frequency but will add some gain at the end.
Here are some screenshot of my mastering chain.
Mastering is an art by itself, it is heavely hardware and daw/vst dependent and differ from producer’s point of … hearing ^^.